Beta
Installing Simple AF on a Nebula Pad is beta
Simple AF on a Nebula Pad
Support for running Simple AF with a retail Nebula Pad for some older Ender 3 printers.
Nebula Pad mount
The Nebula Pad must be mounted onto the printer in landscape mode
Supported Printers
- Ender 3 V1 and V1 Pro with 4.2.2 mainboard (
--printer creality-ender3-v12-422) - Ender 3 V1 and V1 Pro with 4.2.7 mainboard (
--printer creality-ender3-v12-427) UNTESTED - Ender 3 Neo with 4.2.7 mainboard (
--printer creality-ender3-v12-427) UNTESTED - Ender 3 V2 with 4.2.2 mainboard (
--printer creality-ender3-v12-422) - Ender 3 V2 with 4.2.7 mainboard (
--printer creality-ender3-v12-427) UNTESTED - Ender 3 V2 Neo with 4.2.7 mainboard (
--printer creality-ender3-v12-427) UNTESTED - Ender 3 V3 SE (
--printer creality-ender3-v3-se)
The following additional printers are planned for the near future:
- Ender 3 S1
- Ender 3 S1 Pro
- Ender 3 Max Neo
Note
Additional printers that can be connected via the IDC display port will be added if requested
Printer Firmware
You will need to flash your printer with klipper firmware in the way that each printer needs to be flashed, usually this will entail copying the bin file to a SD or Micro SD card and placing into the printer and restarting the printer, you should not have the printer connected to the Nebula Pad at this stage.
| Mainboards | URL | Notes |
|---|---|---|
| Creality 4.2.2 and 4.2.7 | https://github.com/pellcorp/klipper/raw/refs/heads/jun2025/fw/NEBULA/creality-42x.bin | This firmware works for STM32 and GD32 variants of the boards |
| Ender 3 V3 C13 | https://github.com/pellcorp/klipper/raw/refs/heads/jun2025/fw/NEBULA/e3v3se.bin | C13 board only |
| Ender 3 V3 C14 | https://github.com/pellcorp/klipper/raw/refs/heads/jun2025/fw/NEBULA/e3v3se_c14.bin | UNTESTED C14 board only - Create a folder STM32F4_UPDATE copy e3v3se_c14.binto this folder and rename to firmware.bin |
Ender 3 V3 SE
It is super important to double check what chip is on your board, the C14 chips have a STM32 chip, the C13 boards have GD32. I have just become aware creality has also released boards which say C14, but have GD32!
Someone from Simple AF discord pointed me to this site which might help if you are having issues flashing the Ender 3 V3 SE:
https://github.com/navaismo/Marlin_bugfix_2.1_E3V3SE/wiki/Flashing-your-Printer#troubleshooting
SimpleAF Base Firmware
You must install the Simple AF base nebula firmware.
Download the NEBULA_ota_img_V8.1.1.0.29.img and save it to a Fat32 formatted USB Key and insert it into your Nebula Pad.
After you finish flashing the SimpleAF base firmware, you must factory reset your Nebula Pad before proceeding to install Simple AF, the installer will abort if it detects you have not factory reset!
Note
WIFI settings should be retained if you use the Simple AF factory reset method
You have a few options for flashing the firmware to your Nebula Pad
Flash the firmware from the stock UI
The stock UI should prompt you to install the updated firmware when the USB is inserted!
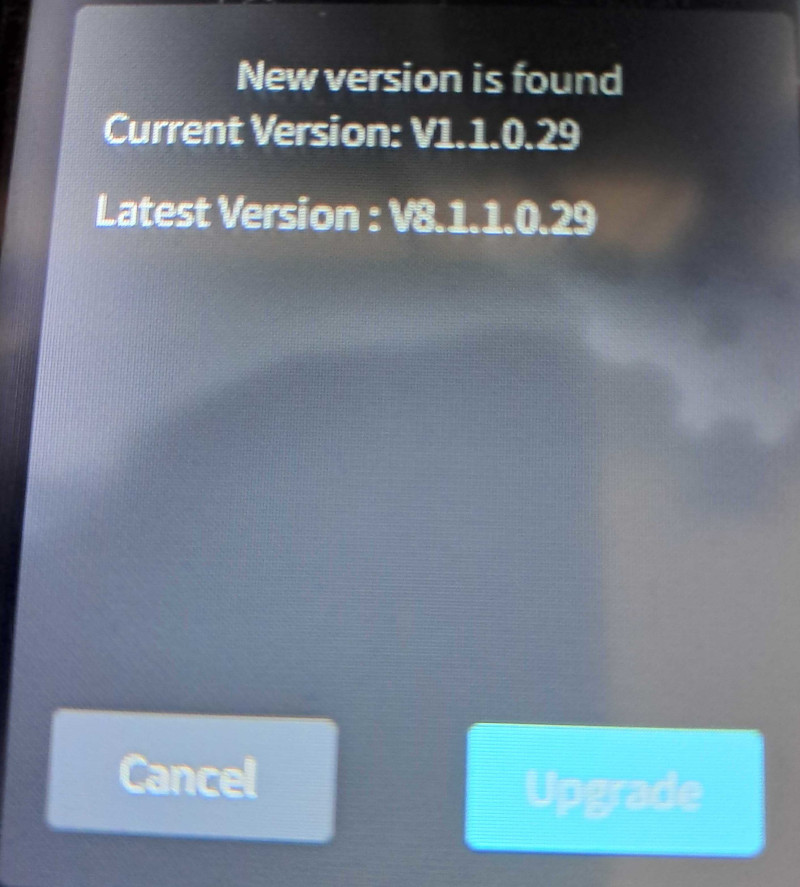
Via the command line on the printer
You will need root access to the printer, and then run this command:
Ingenic Cloner
You can download the ingenic image from: https://github.com/pellcorp/downloads/blob/main/creality/simpleaf/NEBULA_8.1.1.0.29.ingenic
First start
Touch Calibration
When you start the Nebula Pad after installing the SimpleAF Base Firmware you will be a asked to complete touch calibration, follow the steps to get that done
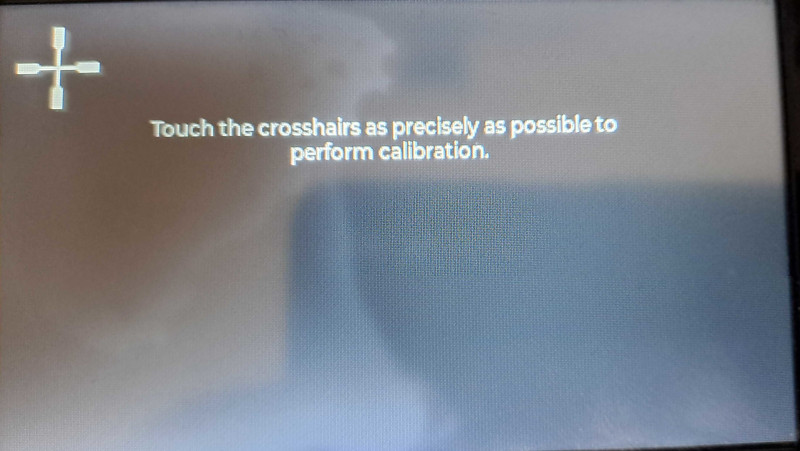
Setup WIFI
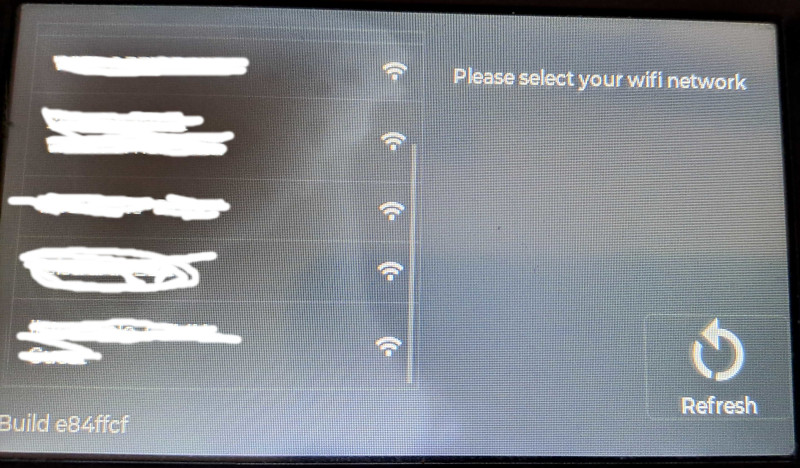
If you already had Wi-Fi setup before flashing the new firmware, your details might have been retained, if not you will need to set them up again via the Wi-Fi panel or Configure WIFI via USB
Logging in
Once WIFI is connected you can login as root via ssh:
The password is Creality2023
Installing SimpleAF
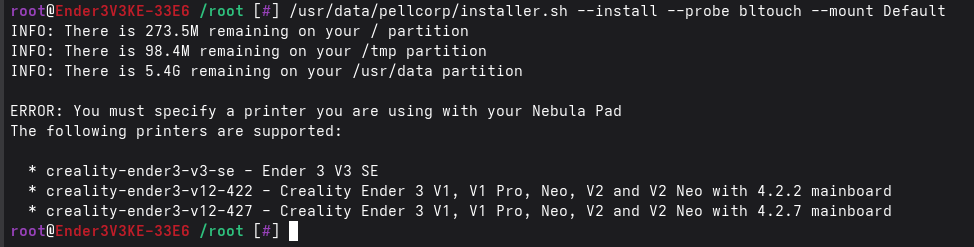
The instructions for installing SimpleAF for a bltouch just need to have a --printer argument added, so for example to install for an Ender 3 V1 with a 4.2.2 mainboard, you would clone the repo and then run the installer:
git config --global http.sslVerify false
git clone https://github.com/pellcorp/creality.git /usr/data/pellcorp
/usr/data/pellcorp/installer.sh --install bltouch --mount Default --printer creality-ender3-v12-422
Note
The --mount Default will configure bltouch for the Creality supplied bltouch mount with the stock hotend, you could also specify --mount SpritePro to
setup a printer with the Sprite Pro and the provided bltouch mount.
Restoring original firmware
If you decide you don't like Simple AF on your Nebula Pad, you should factory reset which will return you to the Wi-Fi bootstrap screen, where you will be prompted to calibrate touch again, if you are going back to stock firmware, don't worry about doing the touch calibration, just go ahead and SSH into the machine (Wi-Fi settings should have been retained)
You can either grab the original firmware from creality or my prerooted firmware, put that onto a USB key, plug the usb key into the machine
Run this command if you downloaded my pre-rooted but otherwise stock firmware:
Restart the Nebula Pad and it should prompt you to setup your printer again.